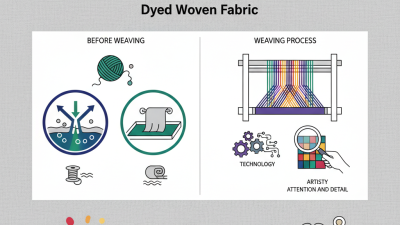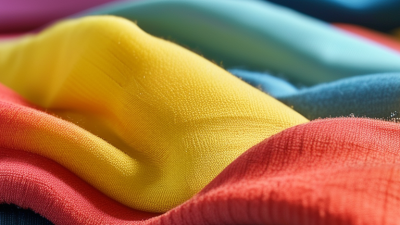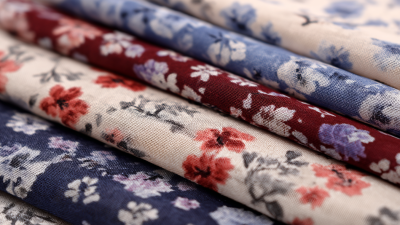
Dyeing Stripes On Fabric requires more than placing contrasting colors across a roll. In bulk production, stripe width, spacing, color depth, and fabric movement must remain consistent. A small variation can become obvious across hundreds of meters. This article explains how manufacturers plan, test, and control striped fabric dyeing from the first sample to final inspection.
The process begins with fiber identification and fabric preparation. Cotton, polyester, viscose, and blended materials absorb dyes differently. That difference matters. A reliable team checks shrinkage, absorbency, fabric weight, and surface tension before selecting a dye method. Lab dips help compare shades under controlled lighting. However, a laboratory result may not behave perfectly on a production machine. Scale changes everything.
Experienced technicians monitor liquor ratio, temperature, dye concentration, machine speed, and drying tension. They also inspect stripe edges for bleeding, uneven saturation, and unwanted distortion. Color measurement instruments add evidence, but visual inspection remains useful. Human judgment catches details that instruments sometimes miss. It is not flawless.
Bulk orders need documented recipes, approved standards, and repeatable checkpoints. Operators should record every adjustment, including changes that seemed minor. A missed note can create a second production problem. Proper testing also supports quality claims and responsible manufacturing practices. The following guide explores practical stripe-dyeing methods, common failures, and inspection steps that help reduce waste while protecting color consistency and fabric performance.
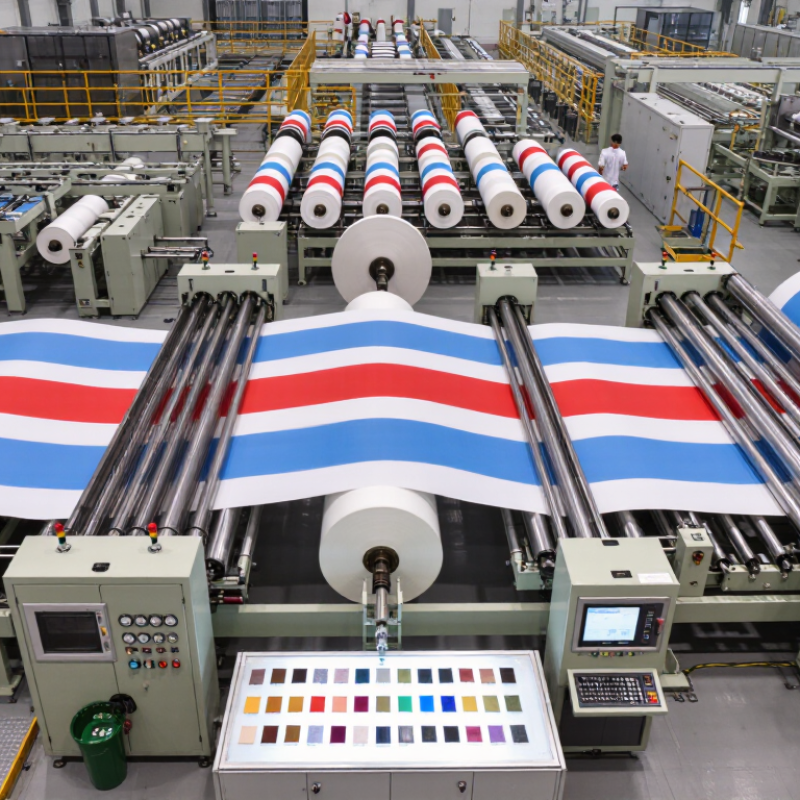
Define the fabric before choosing any dye. Record fiber content, yarn type, fabric weight, weave, and finishing agents. Cotton, polyester, and blended fabrics require different dye systems and preparation methods. A fabric label alone may not provide enough information. Request a technical specification sheet from the mill.
Dye selection should match the fiber and production equipment. Check the dye’s temperature range, fixation method, migration risk, and colorfastness performance. For woven stripes, confirm whether the design is printed, yarn-dyed, or created through sectional dyeing. Each method changes the edge sharpness and production cost. Test absorbency before bulk processing. Uneven wetting can create cloudy stripe boundaries.
Define every stripe detail in writing. Include stripe colors, widths, repeat length, direction, spacing, and acceptable tolerance. A 2-millimeter variation may look minor on one roll but obvious across a long garment panel. Use a measured artwork file, not only a verbal description. Approve a lab dip and a small pilot lot before full production.
Check shade under several light sources, then test washing, rubbing, perspiration, and dimensional stability. In one early trial, the color matched the sample but shifted after finishing. The mistake was trusting the wet fabric appearance. Record the finishing recipe, drying temperature, fabric speed, and inspection results. Keep retained samples from both approved and rejected lots. Small details matter.
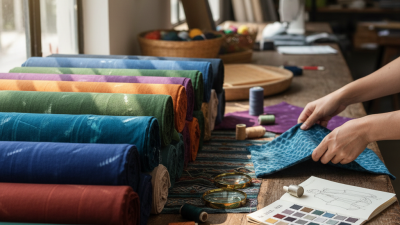
Preparing fabric well is the foundation of consistent stripe dyeing in bulk production.
Before dyeing, inspect every roll under steady lighting. Check width, weight, weave direction, stains, and visible tension marks. Small details matter.
In production work, I have found that uneven moisture causes more shade variation than expected. Scour the fabric using a controlled process suitable for its fiber type. Remove oils, dust, and finishing agents without damaging the yarn. Rinse thoroughly, then measure the fabric’s moisture level before loading. Keep the roll relaxed. Do not stretch it during preparation.
Align the grain carefully before marking stripe positions. Use measured guides rather than visual estimates, especially for narrow stripes. Test a small fabric section with the planned dye recipe, temperature, pressure, and processing time. Compare the dried sample under the same lighting used for quality inspection. Record every setting, including fabric speed and drying conditions. A simple production sheet can prevent repeated errors.
Allow the prepared fabric to rest before dyeing when the material tends to shrink or curl. I once assumed identical rolls would behave alike, but storage humidity had changed one batch. That mistake required adjustment. Now, I check each lot separately and keep reasonable tolerances for width, shade, and stripe placement. Perfect uniformity is difficult, and pretending otherwise creates avoidable problems.
Accurate stripe patterns begin with a measured dyeing guide, not a rough sketch. Define each stripe’s width, color sequence, and repeat length before preparing fabric. For bulk production, record measurements in millimeters and include an acceptable tolerance, such as plus or minus two millimeters. A paper template can show the repeat clearly. It also helps operators check alignment during setup.
Test the fabric before full production. Wash a small sample, measure shrinkage, and check how the fiber absorbs dye. Then adjust the dye concentration, water temperature, pH, and setting time. Keep these values in a controlled production sheet. Use fabric tension carefully, because stretching can make stripes appear narrower. My early trials often looked accurate when wet, but shifted after drying. That mistake taught me to inspect finished fabric, not only the dye bath.
Tips: Mark the stripe edges lightly. Use calibrated measuring tools. Photograph the approved sample beside a ruler. Check the first production roll at regular intervals. Keep one untouched reference swatch. Avoid changing several variables together, or the cause of a color difference may remain unclear. A small spacing error can become very visible across hundreds of meters, so pause and review the guide when results look almost right.
For bulk stripe production, color application must stay even from the first roll to the last. Begin with clean, conditioned fabric. Check its moisture, width, and surface tension before applying the stripe colors. Uneven fabric can make a sharp stripe look blurred or broken.
Use a measured dye bath or print paste for every production lot. Keep the viscosity, temperature, and application pressure consistent. A trial roll should confirm stripe width, edge definition, and color strength. Inspect both fabric sides under stable lighting. Small differences are easier to correct before bulk processing. I have found that operators often focus on color strength and overlook stripe alignment. That mistake can become expensive.
Fixation depends on the dye and fiber type. Heat, steam, or chemical fixation may be required, so follow the tested process sheet carefully. Record the actual temperature, dwell time, and machine speed. After fixation, rinse gradually to remove loose dye without disturbing the stripe edges. Use clean water stages when possible. Abrupt temperature changes can cause creasing or shade variation. Test rubbing, washing, and color bleeding before shipment. The rinse stage deserves patience. I once accepted a visually strong sample that later failed wet rubbing because rinsing was too short. Production targets can encourage rushed decisions, but a controlled inspection is safer. Keep retained samples from each lot, and compare them after drying, not only while wet.
After stripe dyeing, inspect every production lot before finishing. In bulk production, inspection must begin under stable lighting. I check stripe width, color consistency, edge alignment, stains, and loose fibers. A light table reveals uneven dye penetration and cloudy areas. Measure the first, middle, and final fabric sections. Record the results with lot numbers and inspection dates. Small shade differences can become obvious after cutting. Do not trust one sample.
Finishing changes fabric appearance, width, weight, and hand feel. Set the correct drying temperature and line speed for the fiber type. Check shrinkage after finishing, not before. Also test surface friction, because rough fabric may damage during sewing. I once approved fabric that looked balanced on the table. Later, rolling pressure created faint horizontal marks. That mistake showed me the value of checking fabric after storage. Perfect inspection is difficult, but repeated checks reduce avoidable waste.
Tips: Use white gloves during inspection. Keep rolls away from damp floors and direct sunlight. Wind each roll evenly, without crushing the selvedge. Place protective paper between finished layers when needed. Label every package with lot number, color code, width, length, fiber content, and inspection status. Use waterproof labels and photograph unusual defects. Do not overpack soft fabric, because compression can flatten its surface. Leave a clear handling note for warehouse staff and the next production team.